26/04/2015

Work arounds and the Sprite Fire.


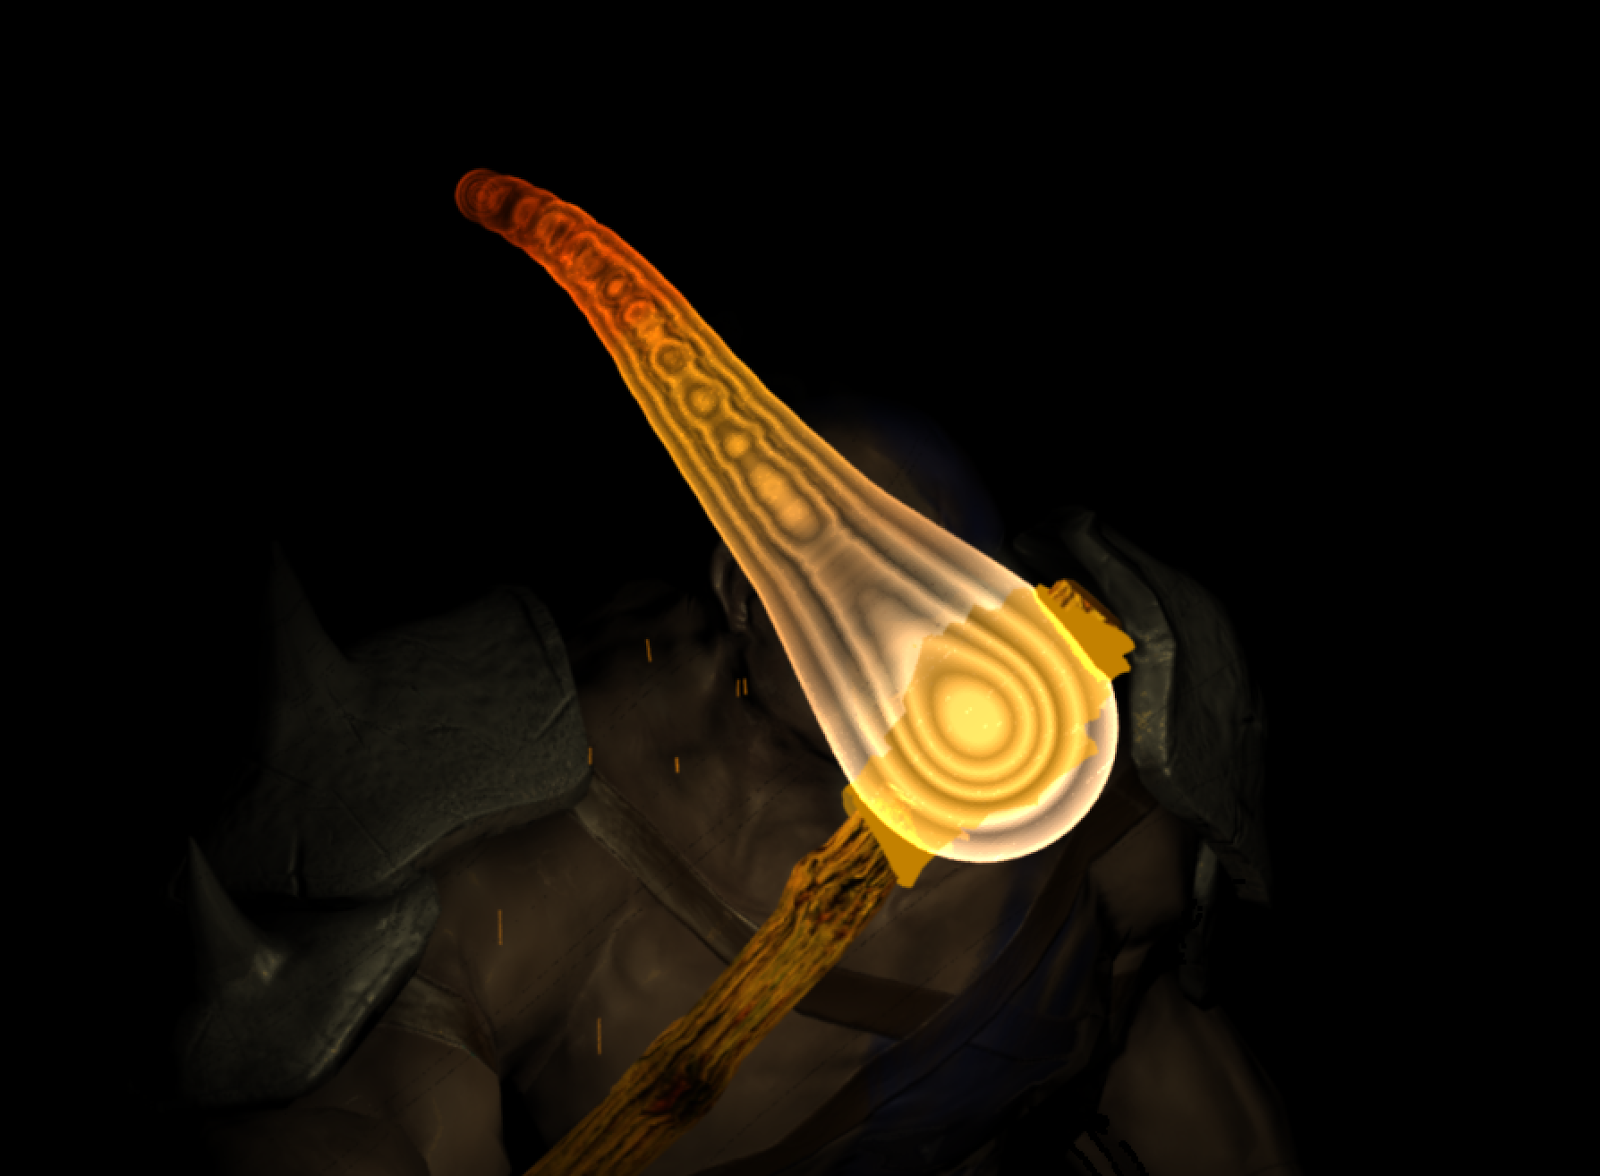
This is the result I've ended up with using the Sprites, and I'm quite happy with how it looks.

Lynn helped me figure out why the sprites weren't appearing properly in renders, saying that using the maya hardware renderer for the sprites might work better, as a result I've started using render layers to separate different parts of the scene up.

This has helped with the nParticle fire as well as even though i don't think the light was linked to the nParticle system, the light seemed to distort as it passed through the flame, making it look odd and unnatural.


This is what it looks like in the view port, I'm happy with the way its turned out and think this is a far more game appropriate method than the other two.


One issue u have come across, and don't seem to be able to fix, is that the incandescence on the torch handle, which was previously random flickering, is now constant, despite the script i put into place.

It was working, and pausing the scene on different frames shows the change, but when rendering it out it is a constant glow.


24/04/2015

Using Sprite emitters for the fire.

Using this tutorial to get a basic understanding, I've made a sprite emitter to try and make the fire seem a bit more interesting, and as its the closest method to that of a games engine in maya.

https://vimeo.com/47901799


I made these four particles to be used by the sprite emitter, making the backgrounds invisible and using .tiff files to include an alpha channel.

I also added some per particle expressions to make the image chosen random per particle, rather than being in a predictable pattern, and to add a rotation

In viewport 2 it still seems to ... break. but in the legacy viewport it looks like this. The colour gradient doesn't seem to be working and the incandescence isn't displaying properly in the renders.
 In the renders the colour isn't coming through and it looks a bit smokey.


23/04/2015

Getting more in depth with the torch handle.

Because I'm having some issues with the nParticle system in maya, I've diverted some of my activity into making the torch handle flicker seem more realistic.

Initially with the flicker being a loop it meant that it didn't match up with when the light is actually brighter . So I've written a simple script and expression to link the two attributes.


In combination these two take the Frame extension of the incandescence map, and the intensity of the light in the torch, and compare them.

The torch is a random intensity between 8 and 9 , so after arranging the textures in order of their intensity , i made a series of if statements so the dimmer the torch, the dimmer the handle incandescence.

I feel that this will be very helpful for conveying a sense of realism in my project, but also relevant to games as its an efficient way of lighting an object in a situation where having more items to illuminate will slow down game play.

21/04/2015

Experimenting with the Ramp Shader.

I experimented with making the flame a bit more interesting. By filling in the middle of the ramp shader it gave it a more balance appearance and made the torch head a bit brighter.


I started adding rings into the middle, giving it a more rippled appearance, i think it looks interesting but perhaps a bit to regular.


(Left is the ramp for above, right for below)


20/04/2015

Variety of Maps for torch.


Ive made a variety of incandescence maps for the torch handle, and set the texture up to use an image sequence. Then i set it to use an interactive sequence cache to make the 6 images repeat, as when you first set up a image sequence it tries to put in a new file for every frame.

19/04/2015

nParticle Flame.

Using the nParticles I've made a rudimentary flame, with the aim being a more game friendly approach with lighter render times.

I can see the good parts of the flame, and i like the way it is looking but it definitely has a long way to go; with the centre of the flame, particularly at the head of the torch, being a bit see through.


It looks a bit clean at the moment, but when i spread the particles out more it starts to look very blobby. This could be to do with my lack of experience with the particle system, but also could be one of the reasons that this method isn't used very heavily for games, with animations tending to use fluid dynamics and containers, and games tending to use sprites.


Here is the incandescence ramp I'm using, based on normalised age, making the origin of the flame the brightest and hottest point.

I also used the hyper shade editor to add a ramp shader to a multiply divide node, then take that output and use it as the incandescence input for the particle shader. This is what gives it the nice outer glow. 


Feedback from the Final Presentation

I was really happy with how the presentation worked out. I prepared heavily for it because i was so nervous and i think that showed, i got my points across eloquently and managed to talk constantly for five minutes only having to pause and think of what i was going to say once.

The feedback was very good, saying they could see a clear progression in my work, strong presentation of my ideas and thorough and concise analysis of other artists work. The part that i felt best about was a comment a long the lines of "When i first heard ZBrush i sighed, but after seeing what you have done with it i think you brought original ideas out of your work"


17/04/2015

Issues with Viewport 2.0

I seem to be having a strange issue with the viewport when I'm trying to create and manipulate nParticles.

When I'm using viewport 2.0 the liquid systems work fine, but the particle systems bug out in a  very extreme manner.

Even though they are supposed to be emitted from the head of the torch, you can see the shape of the flame under and infant of the model. It seems to lock it to only moving in the Z and Y axis, making it perfectly flat along the X axis and displacing it.

All of the images below are screenshots of the viewport as i play through the animation, even though they look a bit closer to some bad pop art.

I can work around this issue using the other view ports but it is concerning to say the least.

I have tried to replicate this with other files and it seems intermittent. It happens far more often when I'm using age or normalised age values to affect my particles in some way, either through opacity colour or incandescence.


Incandescence Map for the torch.

Using an incandescence map for the torch handle will hopefully solve two problems.

The first of which is the lighting of the scene in general, with a previous set up i had three lights, one above the torch acting as the flame, and two on either side of the torch illuminating the hand and torch handle. But this is inefficient and looks a bit strange. Neither of which i want in a scene with games in mind. By putting the light inside of the torch it looks more realistic, but unless i make it not affect the handle it was trapped inside. So using the light linker i stopped the light affecting the handle.

After making the light not affect the handle it needed to be illuminated in some way, it was pure black in the renders, so to get around that I've used an incandescence map for the handle, making it seem as though the light is hitting it. This is also a far more game friendly method, using less calculations for light reaction.

However, it is static and isn't flickering, and currently i can't see any way to make it do so, so I'm going to have to find a way to make that work.


11/04/2015

Render Test.


I did a test of the render process to see if any problems popped up. 

I am getting some strange flickering over the body where parts of it seem to dissapear. This could be due to me rendering out in PNG format, which a few people online seem to have had issues with also. Another possible cause is that the lighting variation in my flickering light is too extreme, and due to its random nature its sudden changes are making strange things happen.

The flame also looks strange at the start of the clip as it ignites. i could fix this by setting a start position for the fluid container. The flame is also reacting slightly too fast, which should be fixable by changing the reaction speed in the fluid container,  though it may take a few renders to nail down the timing.


07/04/2015

Pipe Head Sculpt.


With this piece i tried to abstract the form of the model even more, providing very limited reassurance that it is intact a head. 

I used the tubes or pipes as a way to experiment with what you would recognise as a face, and also to try to draw the eyes around the image, leading them from the "jaw" to the nose.

I also started out with the composition in mind, wanting the inside of the head to fade away into the background from the very beginning, as an imitation of the way Jase Daniels work joins seamlessly with the backgrounds, and reminiscent of the way Zdislaw Beksinski's later works forgo realistic backgrounds entirely.

I had a couple different angles that i rendered out, considering the form of the head, trying to clearly show the nose, being the only true facial feature.


The Above image is my favourite of the renders. I like the colour contrast between the model and the background, i also think that the background fade in is aggressive enough to leave some mystery as to the final form of the model. I also think the angle makes it clear that it is meant to be a portrait but it isn't too obvious.


This is my second favourite of the final compositions, i like its warm colours but feel that the face is almost too obvious , with a clear mouth hole, eye socket and jaw line, but this could just be because i have been staring at it for a few days.


Through experimenting i also found a very efficient way of fading the backgrounds in,.Rather than trying to slowly paint the fade in i can take the depth map from ZBrush, invert it, then use it as a layer mask, to make the fog accurately fade over the model.


Example of one of the Brush renders i used.


Below are examples of the other renders i used to compile the final images.


05/04/2015

Animating the Model.


Using the model i made for a module last year over a stock rig has proven to have its challenges, the skinning on my model is definitely not professional, and its range of motion is some what limited. Another problem i had was that the hip control shape was not zeroed out, so when i moved it around the scene, to get it to return to the original position i had to move it to (0, 0.772, 0). 

The animation process itself went quite smoothly, but i am no animator, so the motions still look a bit unnatural,which is something I'm hoping to improve before my final submission.

Hanging Face Sculpt

In this sculpt i went further with my experimentation with form, and the way that we perceive it.

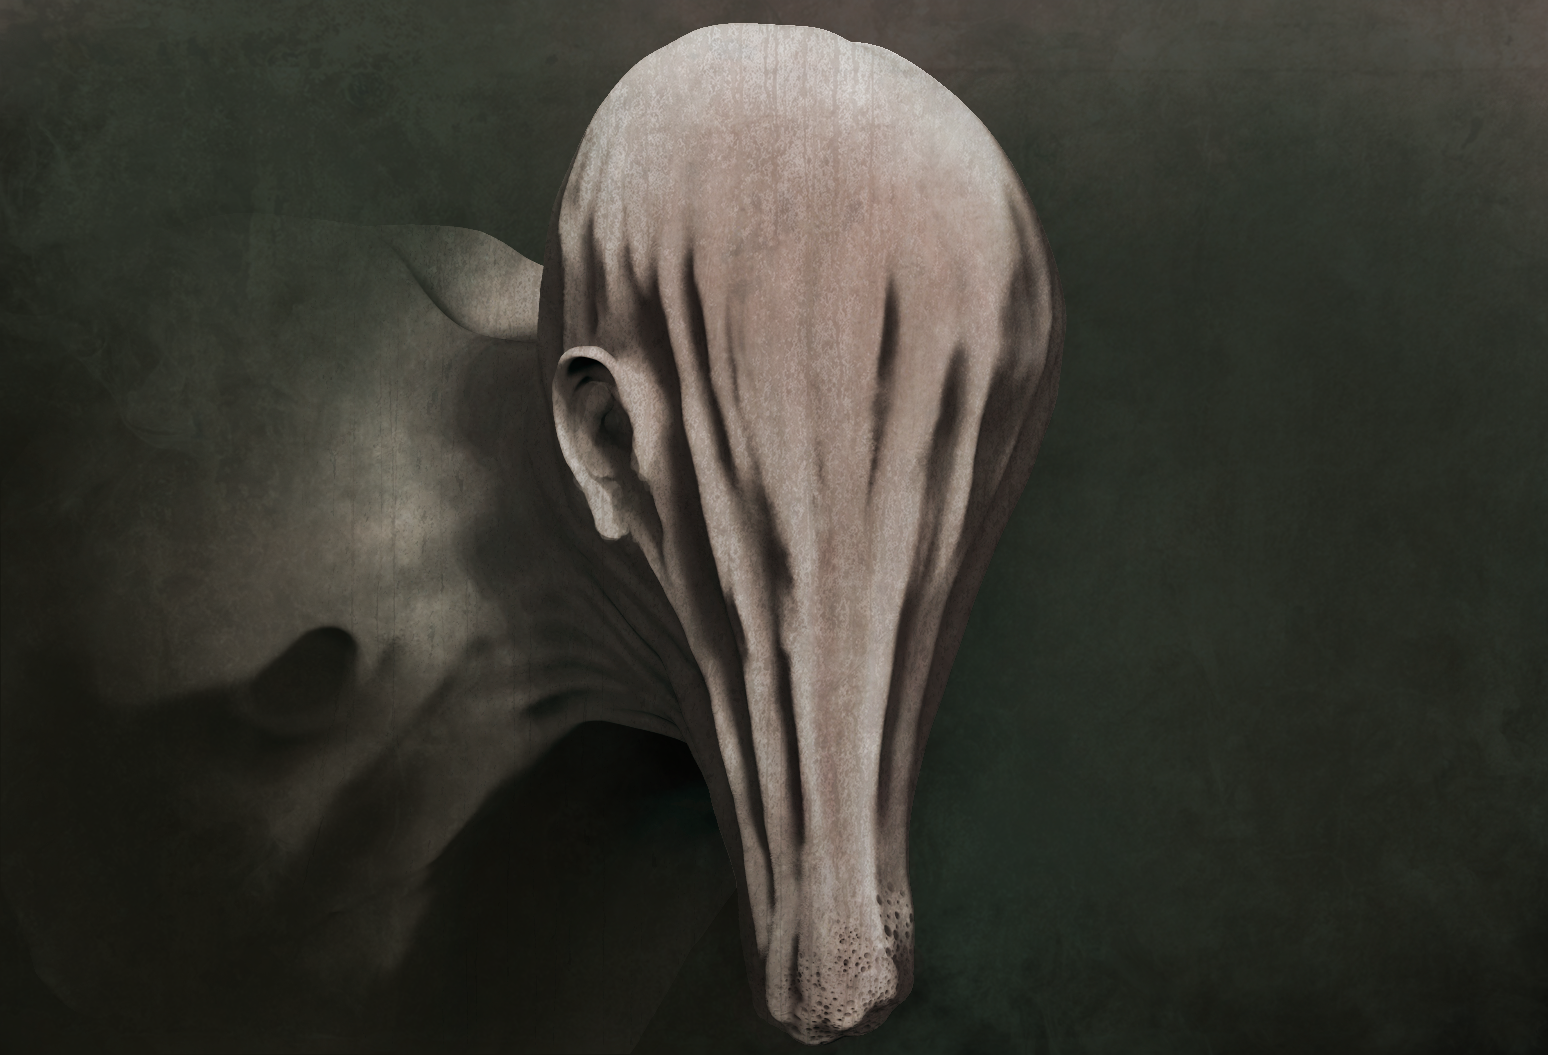
The base of the sculpt, the "head" has no human characteristics and falls downwards like stretched cloth, to try get a feel for what this would look like i placed a bag of rice into a bed sheet, pulling the cloth downwards, then adapted that kind of feel for the skin pulling downwards.

Taking inspiration from the artists i have been looking at i added an anchor point for the imagination, using a clearly human ear to make sure that it looked like a head, even though it had no other features.

The final composition and colour balance, i tried to get the same feel as one of Jase Daniels sculpts by expanding the canvas into a large open space to the right and the use of foreground particles.

This image is compiled of renders from ZBrush overplayed onto one another in photoshop, along side textures, and a small amount of digital painting to blur it into the background and correct the shape of the ear. I also used Photoshop to colour the image and darken the shadows a bit more. 

Im happy with the results but still feel like its lacking a lot of the surface detail and some compositional elements. Using multiple renders in photoshop is a useful and easy method but I'm washing out a lot of the detail because it uses multiple exposures of the same areas. A possible remedy to this would be to spend more time setting up custom lighting for each piece in ZBrush rather than creating the lighting in photoshop. This would hopefully leave more of the tiny details intact and make it more appealing to look at.


This is one of Jase Daniels Pieces, and uses the anchor method i have previously defined with the bottom jaw, meaning you see the other distorted shapes and forms as a face. The surface detail is part of what makes the piece so visually intriguing and is something i want to work toward.


Early blocking out of the shapes


Close up of the end of the face, trying to make it look infested by bugs, like a hive.


The creases took a few attempts to get right, rather than adding the areas where the peaks were i found it more effective to take away the crevice as otherwise the sudden rises took away from the skin looking like it was being pulled taught downwards.


Below are a variety of different colour tints for the image, giving different feels. I went with the yellow and green tinted one as a final as it gave the skin a warmer feel, but still an inhuman look to it.